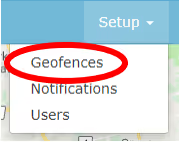
On AirIQ Fleet, select “Setup,” then “Geofences.”
The Geofence editor will open up in a new tab.
In the search box in the top left, enter an address or place of interest.

Your entered location will then be displayed on the map.
To create your geofence, select one of the icons at the top of the map, as highlighted below:
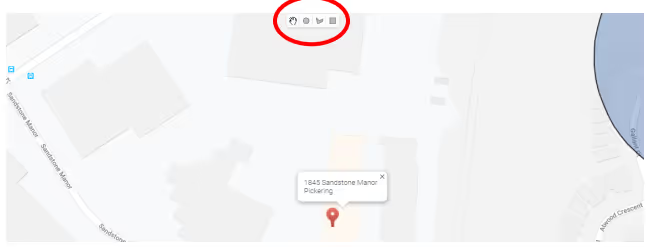

Draw a circular geofence (click and drag)

Draw a custom shaped geofence (click each corner of a shape)

Draw a square shaped geofence (click and drag)
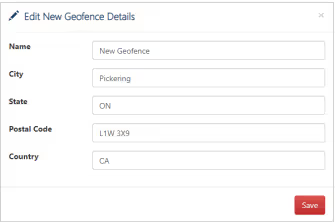
Once completed, select “Save.”
To edit, delete, or set notifications for a geofence, right click in the geofence.
You will see a small box pop up with your geofence details, along with the following buttons: